

Get started on the SaaS version
The SaaS version of Thulu runs at https://octopus.misterd.dev. Today it is a closed beta: it isn’t open to the public, and only the emails that whoever operates it has added can get in. The login has a link to join the waitlist. If you want to use Thulu without waiting, install it on your server with Self-hosted install.
Thulu doesn’t store passwords. The account is created in MisterD ID, MisterD’s identity provider, and Thulu trusts what MisterD ID tells it about who you are. This page covers signing up, the first sign-in and the “Setup” checklist.
Before you start
Section titled “Before you start”- Your email has to be on the beta access list. Thulu compares the email MisterD ID gives it against that list at every sign-in, so use exactly the same email.
- If someone on your team already uses Thulu, ask them to invite you to their workspace from the workspace menu (“Invite people”). Thulu doesn’t send emails: whoever invites you copies the invitation link and sends it to you on their own. The invitation decides which workspace you enter and with which role, but during the beta your email also needs access: until then the invitation waits for you. See Workspaces and team.
- Do the whole sign-up in the same browser. Thulu ties the sign-in to the browser that started it.
- You provide the model key: an Anthropic API key, or an Amazon Bedrock or Google Vertex profile. On the SaaS you can’t load a Claude subscription token (Pro or Max) or connect your personal Claude session: that exists only on your own installations.
Recommended flow: create the account and sign in
Section titled “Recommended flow: create the account and sign in”-
Open
https://octopus.misterd.dev. Without a session it takes you to “Sign in”, which says “The beta is by invitation.”, offers “Join the waitlist” and has a single button to get in: “Continue with MisterD ID”.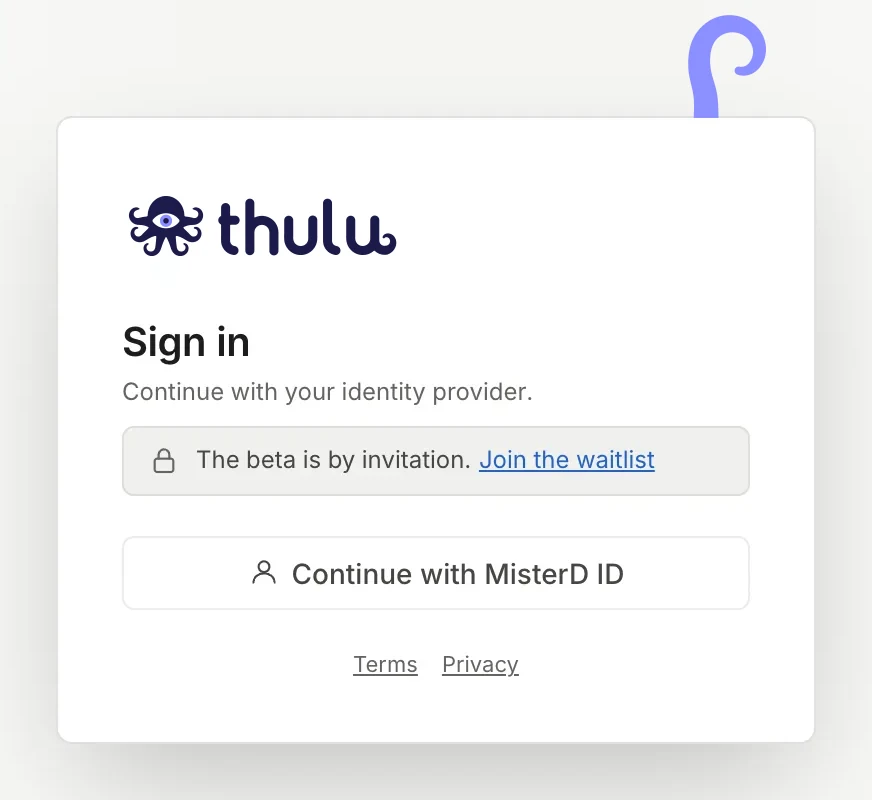
Thulu's login has no form of its own: everything goes through MisterD ID. -
The button takes you to the MisterD ID page. If you already have an account, sign in with email and password or with “Continue with GitHub” / “Continue with Google”. If not, click “Create an account”, below the “Continue” button.
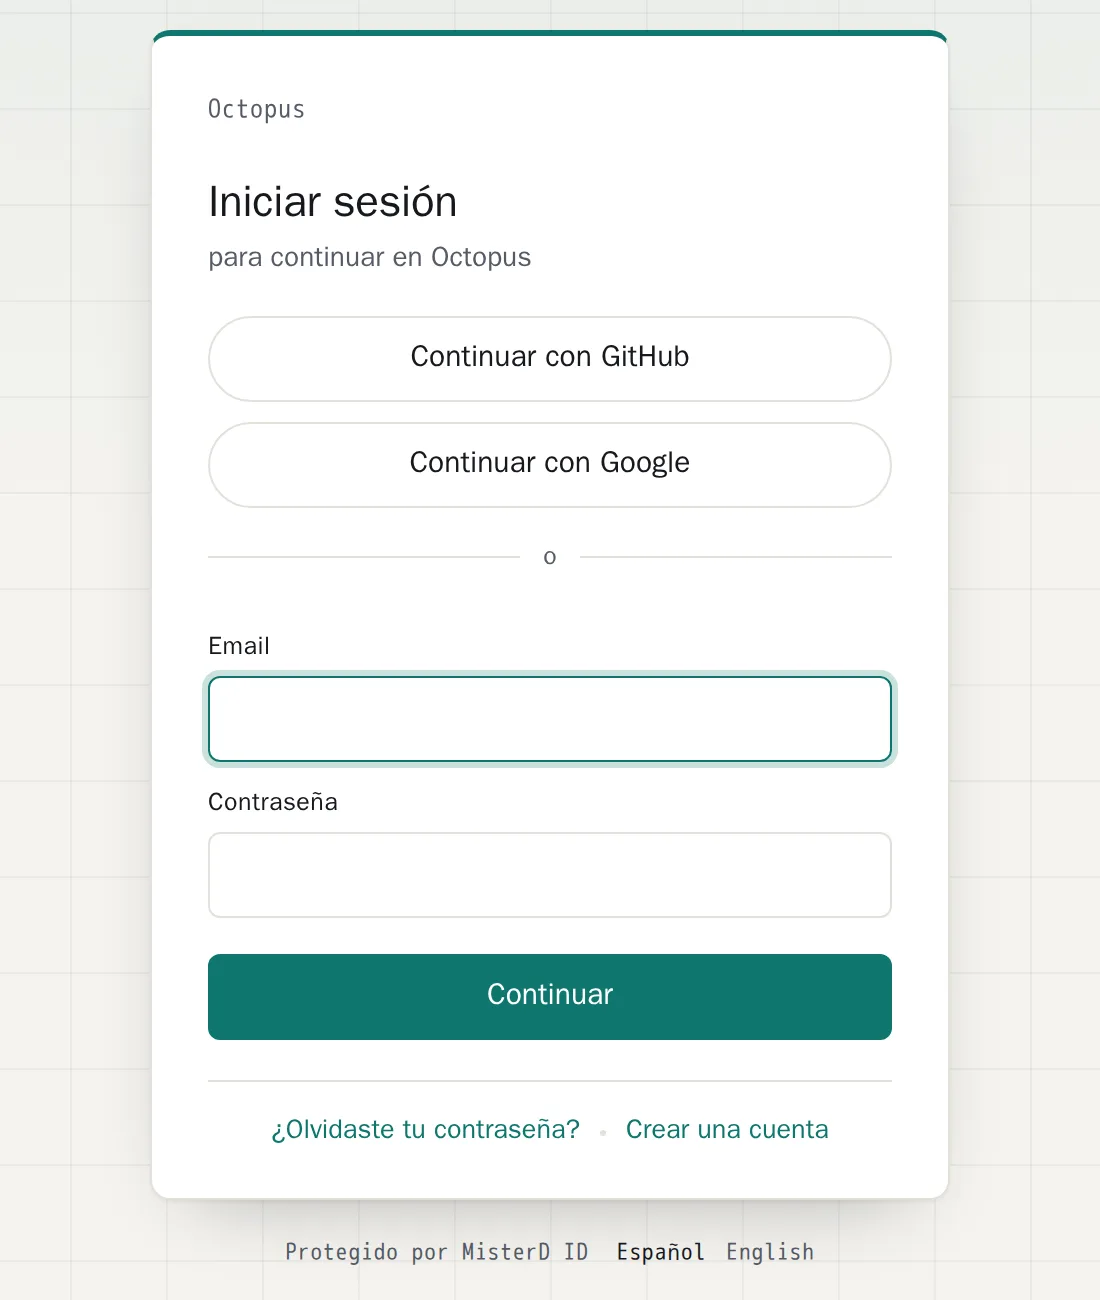
MisterD ID, with its own branding. -
In “Create account” fill in “Name”, “Email” and “Password” (minimum 8 characters) and click “Create account”. The name you enter here is the one Thulu uses for your profile and for your first workspace.
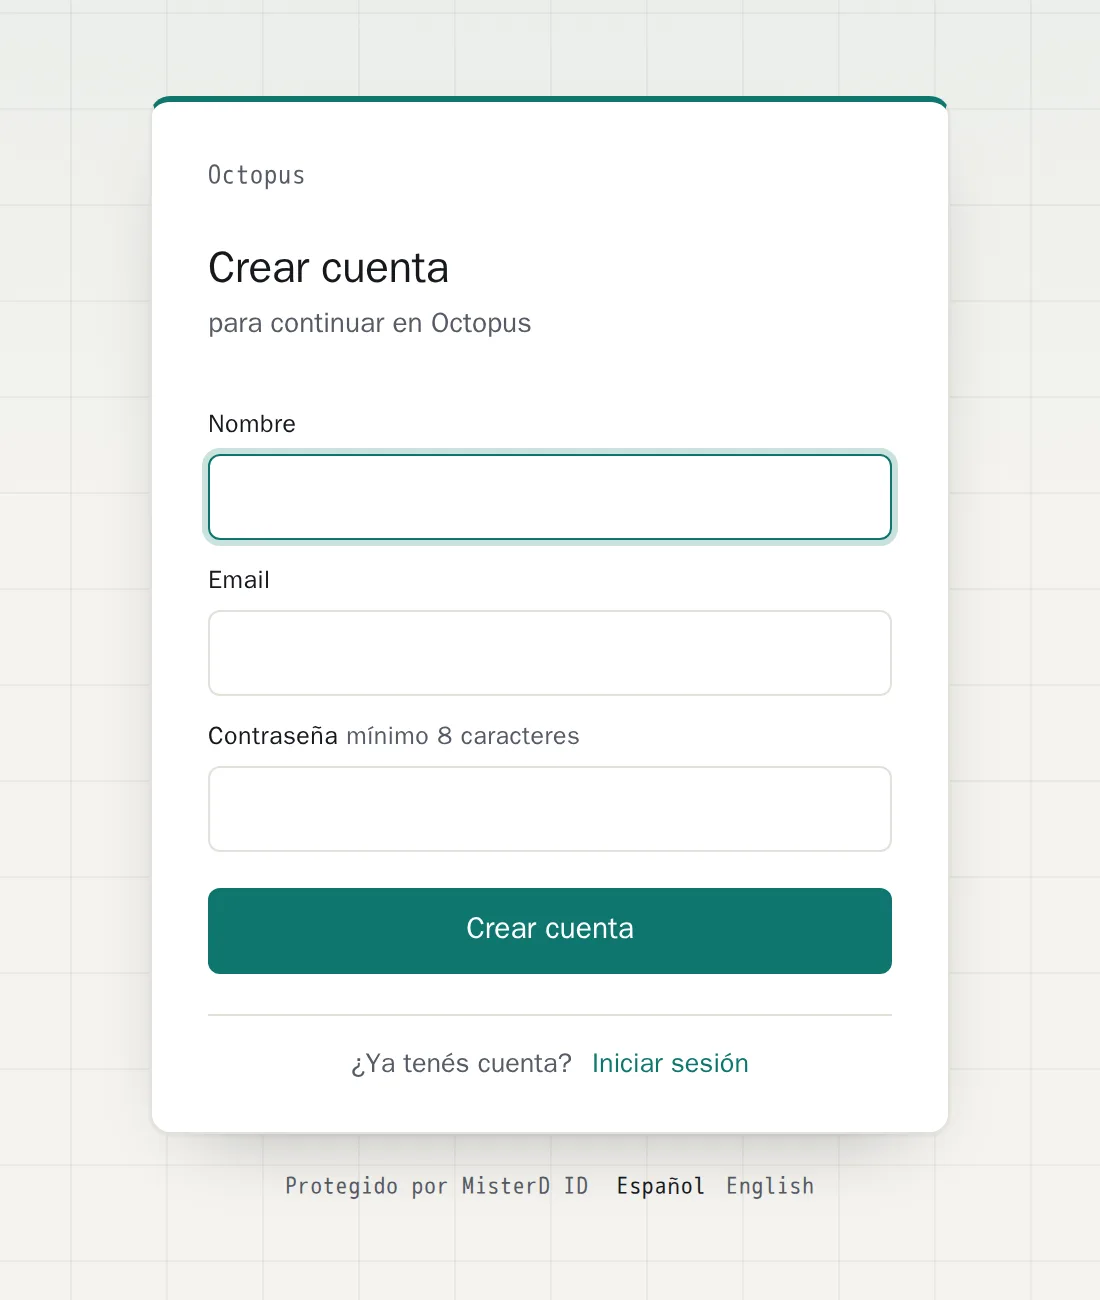
Three fields. Use the email that has beta access. -
Verify the email. MisterD ID sends you an email with a link; open it. The MisterD ID page says “Email verified” and doesn’t send you back to Thulu on its own: go back to
https://octopus.misterd.devand click “Continue with MisterD ID” again. Thulu doesn’t create the account until MisterD ID confirms that the email is yours. If you signed in with GitHub or Google, the email already comes verified and this step doesn’t appear. -
When you return, Thulu creates your account and your personal workspace, and drops you on the Dashboard with the owner role. The workspace is named after you (for example “Alex Morgan’s workspace”) and appears at the top of the sidebar. If you came in with a pending invitation, you enter the workspace that invited you instead of the personal one.
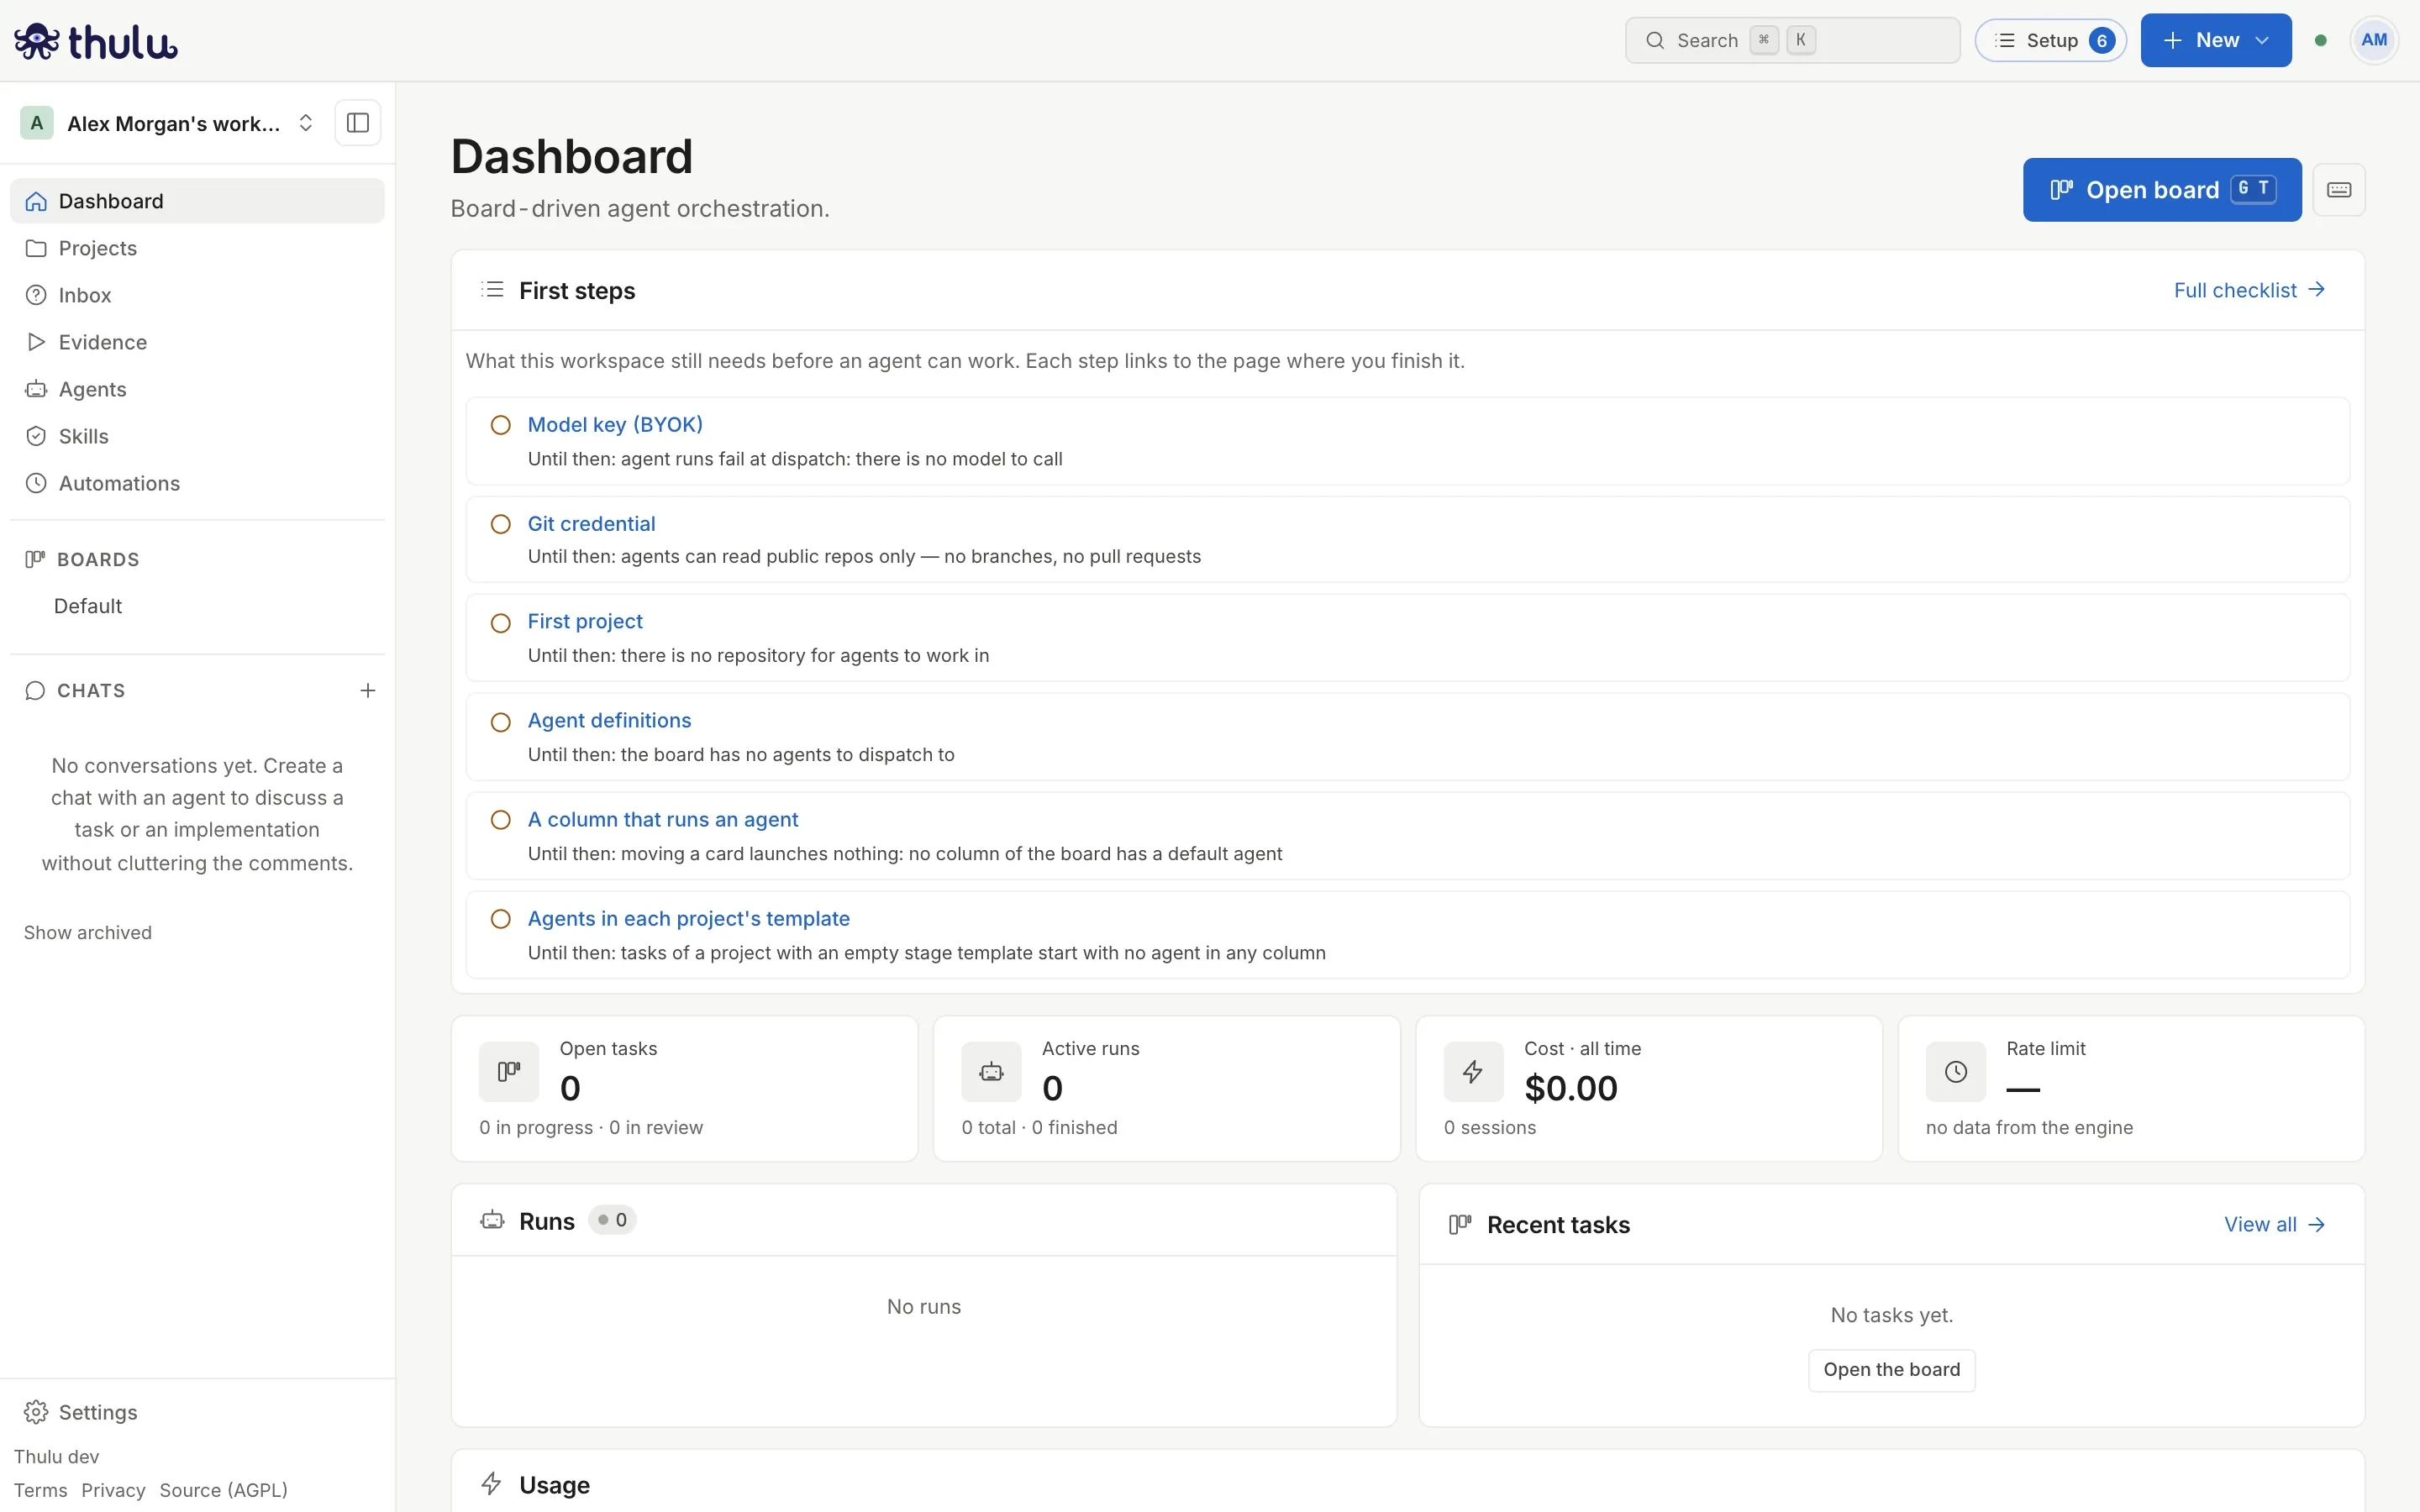
First sign-in: the Dashboard shows the first steps and the header shows how many items are missing. -
Follow the “First steps” on the Dashboard, or click “Setup” in the header (next section).
Next times, “Continue with MisterD ID” and your credentials are enough. “Log out”, in your avatar menu (top right), also ends the MisterD ID session: next time it will ask for your password again, and you can sign in with a different account.
The “Setup” checklist
Section titled “The “Setup” checklist”A new workspace comes with no agents, projects or keys. The checklist at /onboarding/ reads the workspace’s live state and marks what is missing for an agent to be able to work. Only admins and owners see it, and the header button disappears when every item is done. The same checklist appears on the Dashboard as “First steps” while anything is pending.
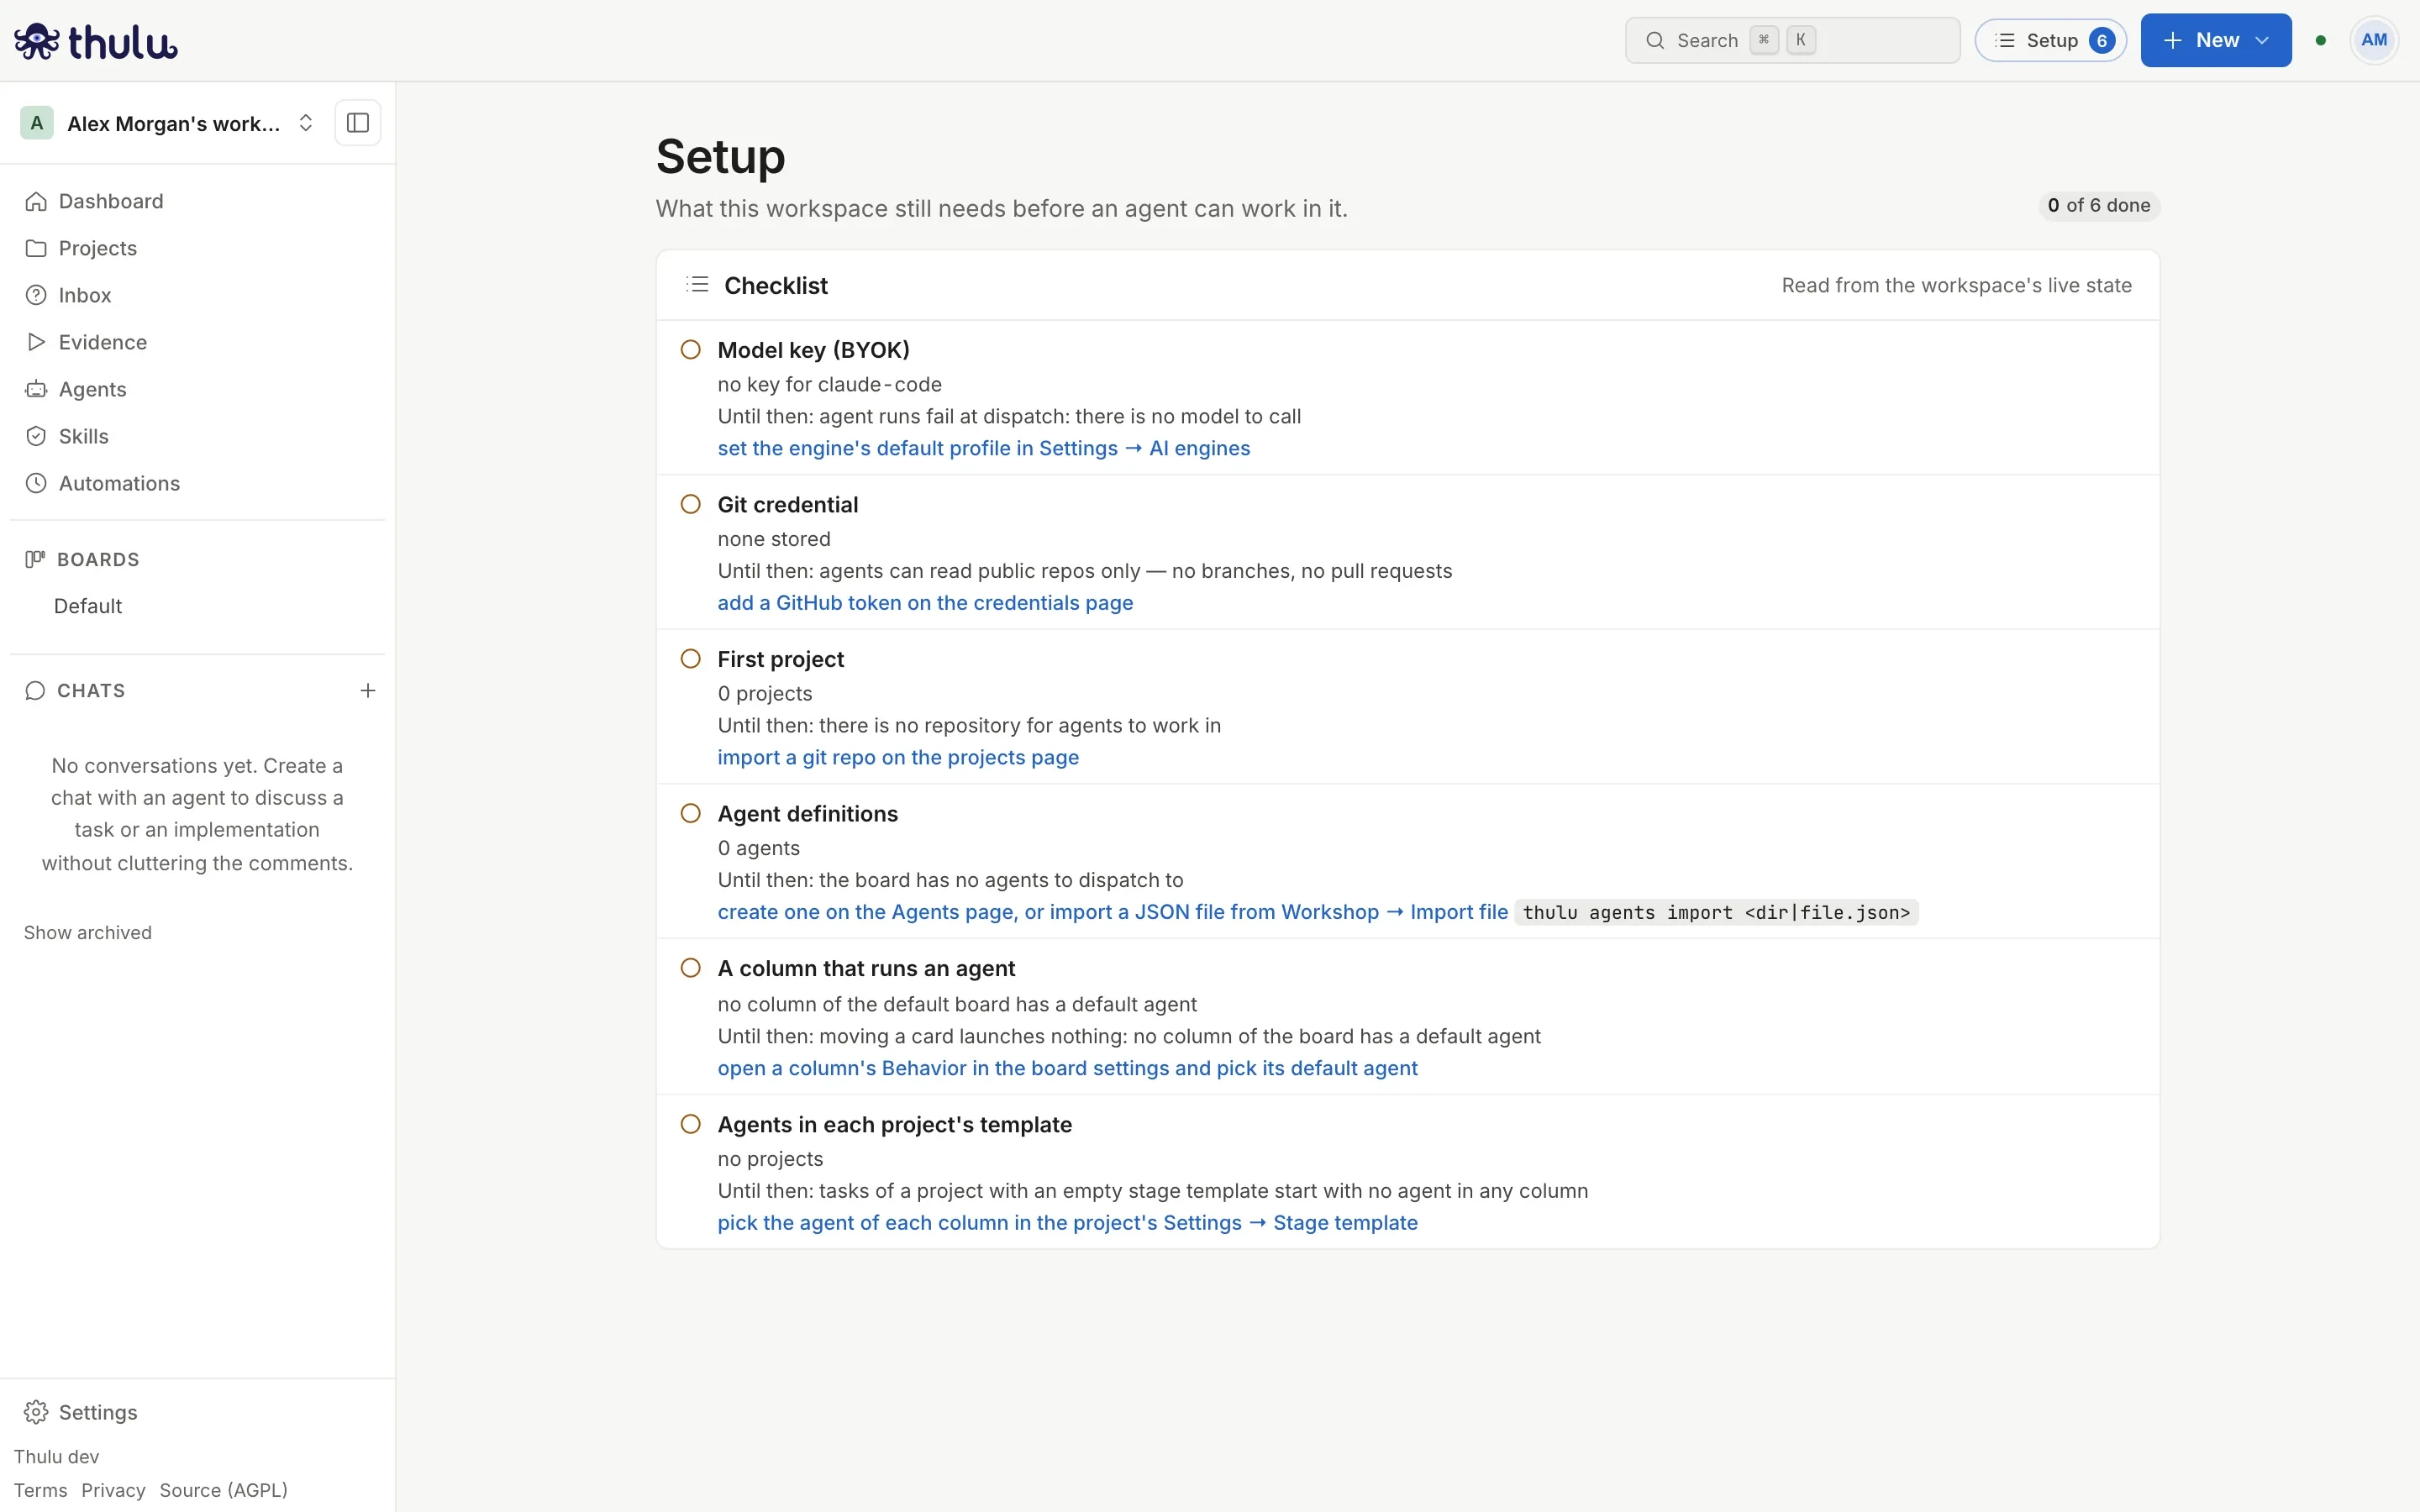
The items come in the order it makes sense to do them:
| Checklist item | What is missing | Where to complete it | While it is missing |
|---|---|---|---|
| “Model key (BYOK)” | An engine key as the default profile | “Settings → AI engines” (guide) | Agent runs fail at dispatch |
| “Git credential” | A GitHub token or the GitHub App installed | “Settings → Credentials” (guide) | Agents can read public repos only: no branches or pull requests. A private repo can’t be imported either |
| “First project” | An imported repository or an uploaded folder | “Projects” (guide) | Agents have no code to work on |
| “Agent definitions” | At least one agent | “Agents”, or a JSON imported from the Workshop (guide) | The board has nobody to send a task to |
| “A column that runs an agent” | A column of the default board with a default agent | The column’s Behavior, in the board settings (guide) | Moving a card launches nothing |
| “Agents in each project’s template” | Each project having an agent in some column | The project’s “Stage template” (guide) | The tasks of that project start with no agent |
With every item done, continue with Recommended flows for the first task.
Another workspace
Section titled “Another workspace”Each account can own up to two workspaces on the SaaS: the personal one created when you sign in and one more. A workspace has its own boards, agents, credentials and members, and nobody else sees it until you invite someone.
-
Open the workspace menu, at the top of the sidebar (the name with the little arrows).
-
Click “Create workspace”.
-
Type the “Name” and click “Create workspace”. If you leave it empty, the modal asks “Give the workspace a name.” without closing.
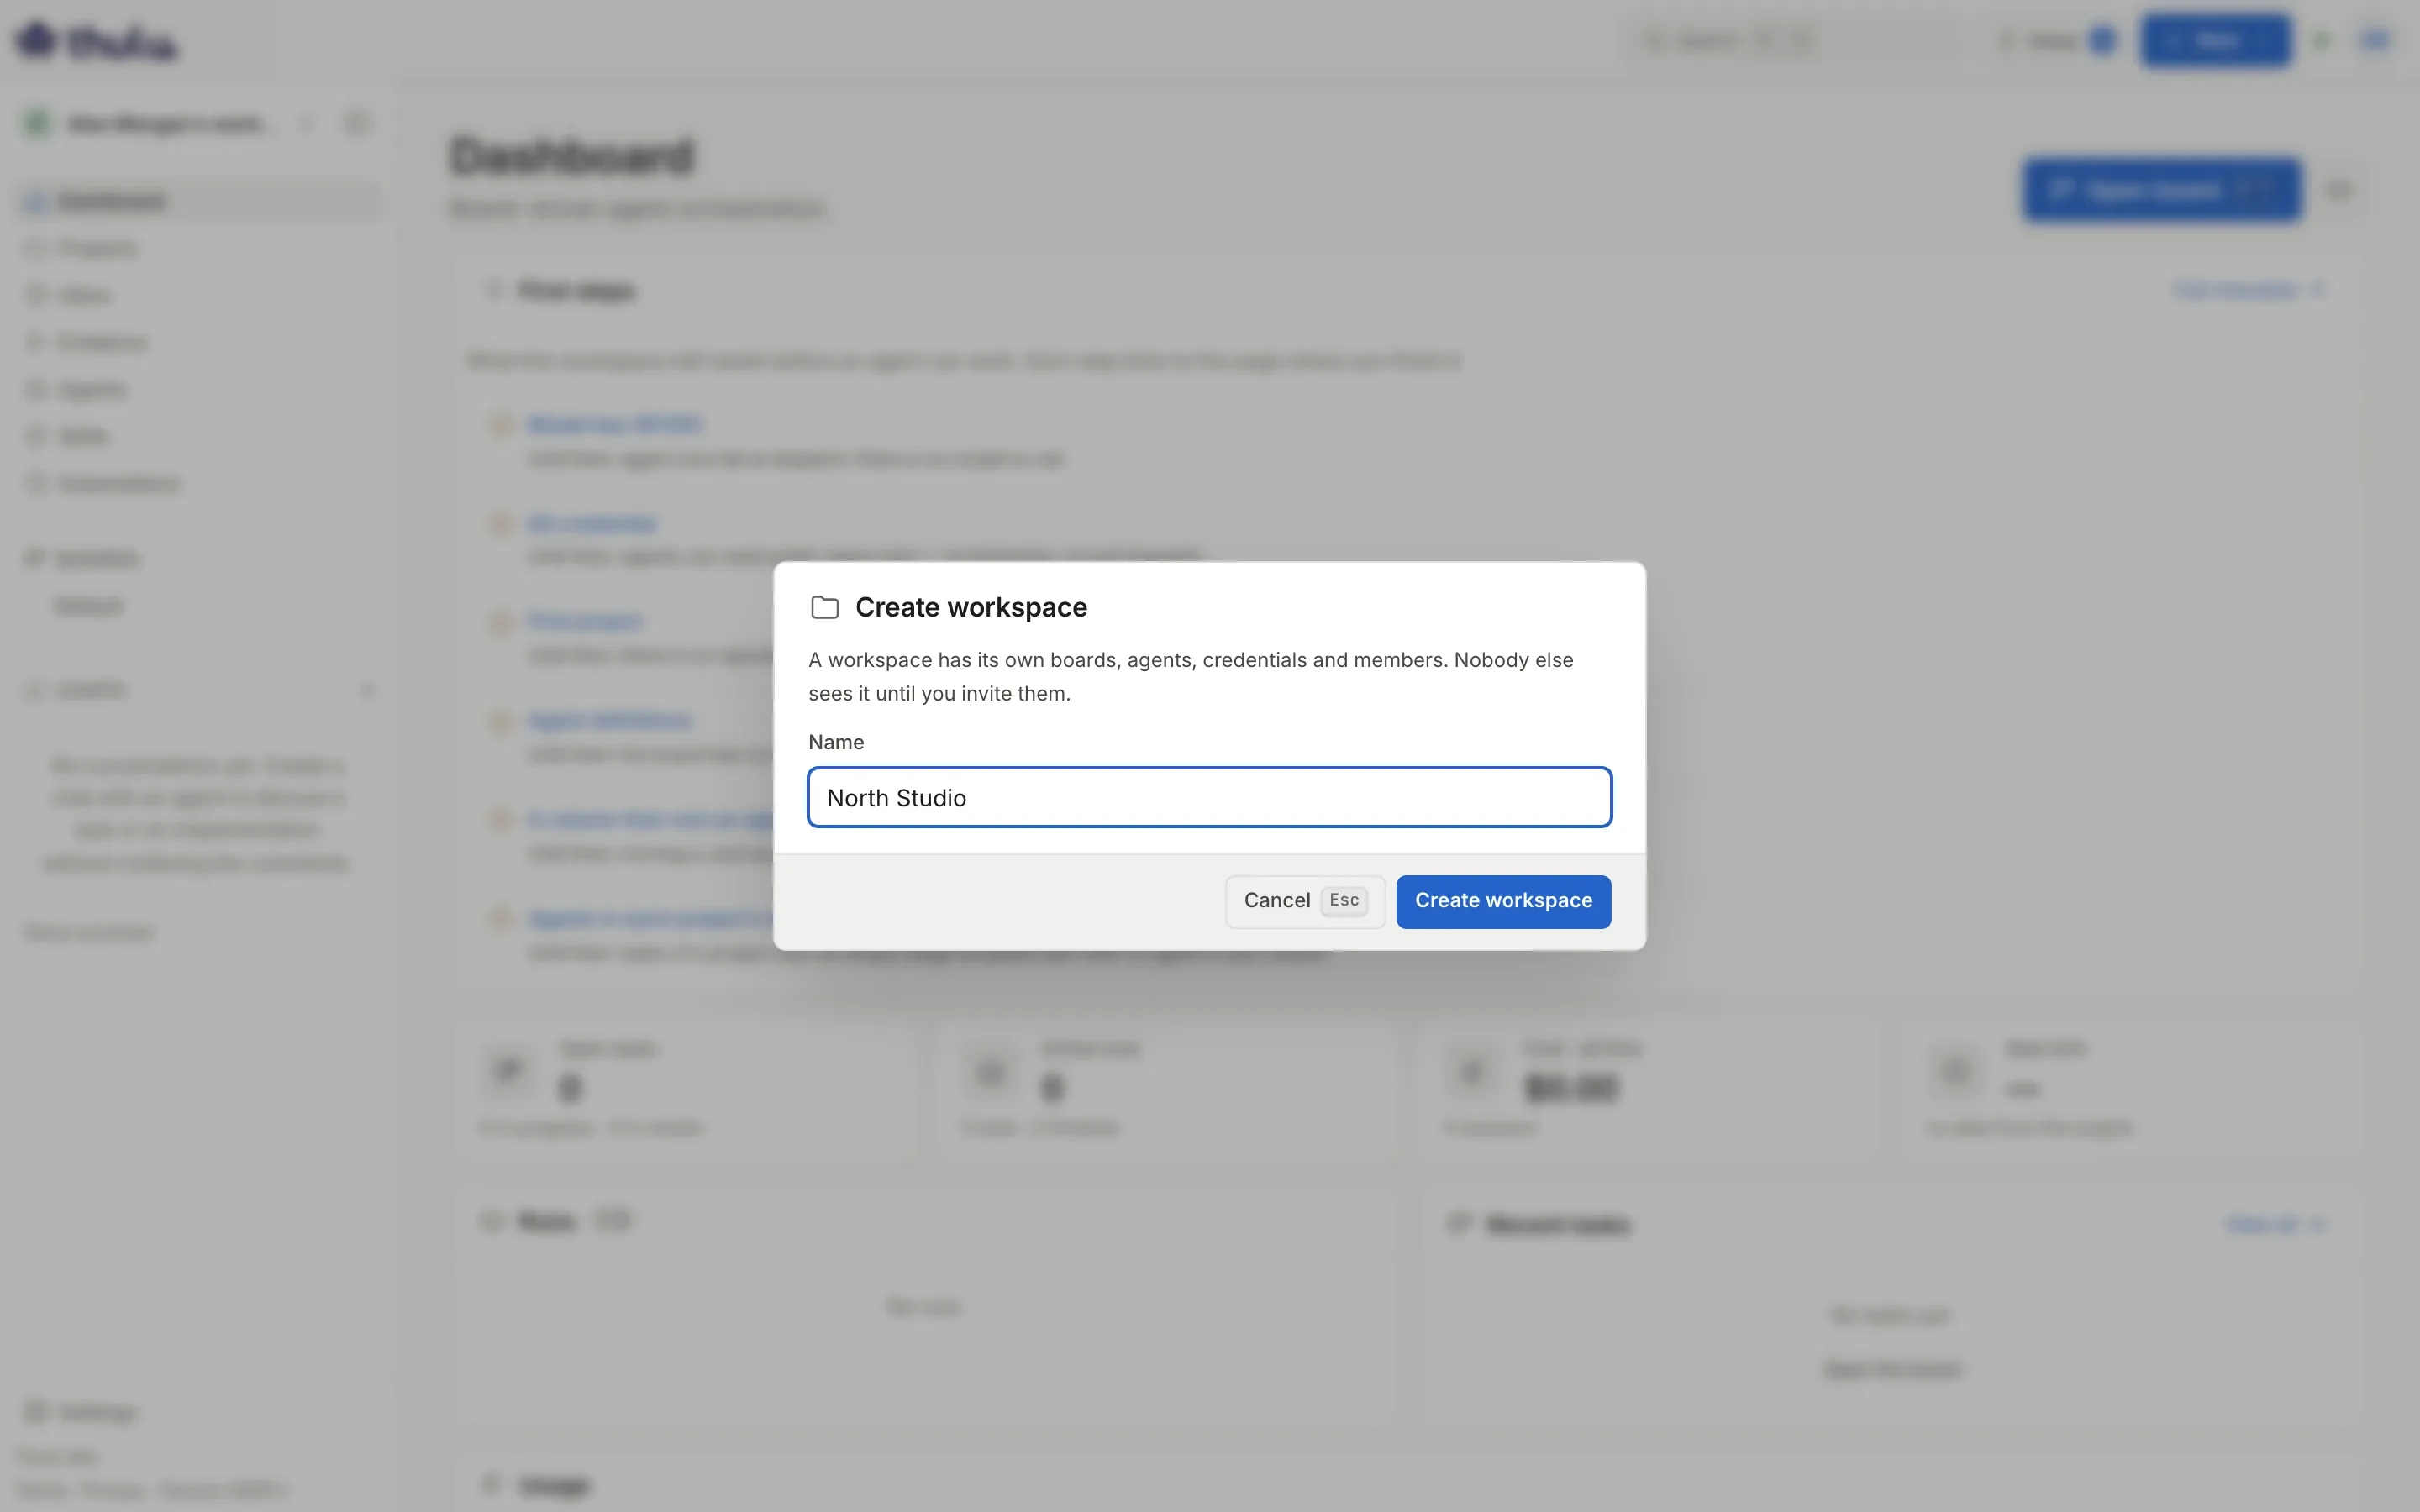
The modal explains what separates one workspace from another. -
Thulu switches you to the new workspace and drops you on its Dashboard, with the empty factory board and its own checklist.
The same menu switches between workspaces: it lists “Your workspaces” with your role in each and a check on the current one. With two workspaces of your own, “Create workspace” is disabled and says why: “You already own 2 workspaces, the most one account can own here.”
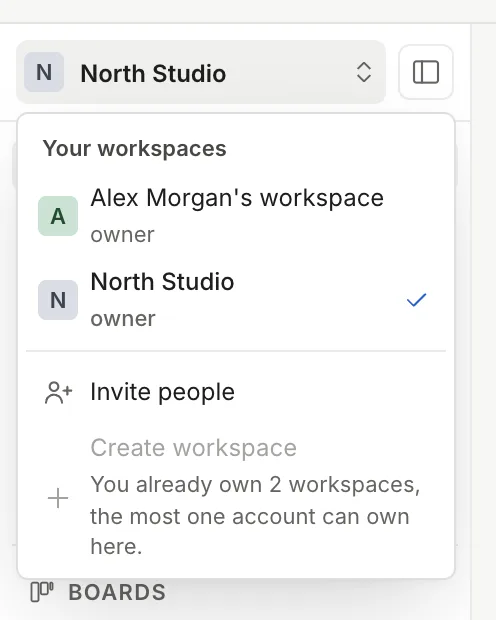
Your account
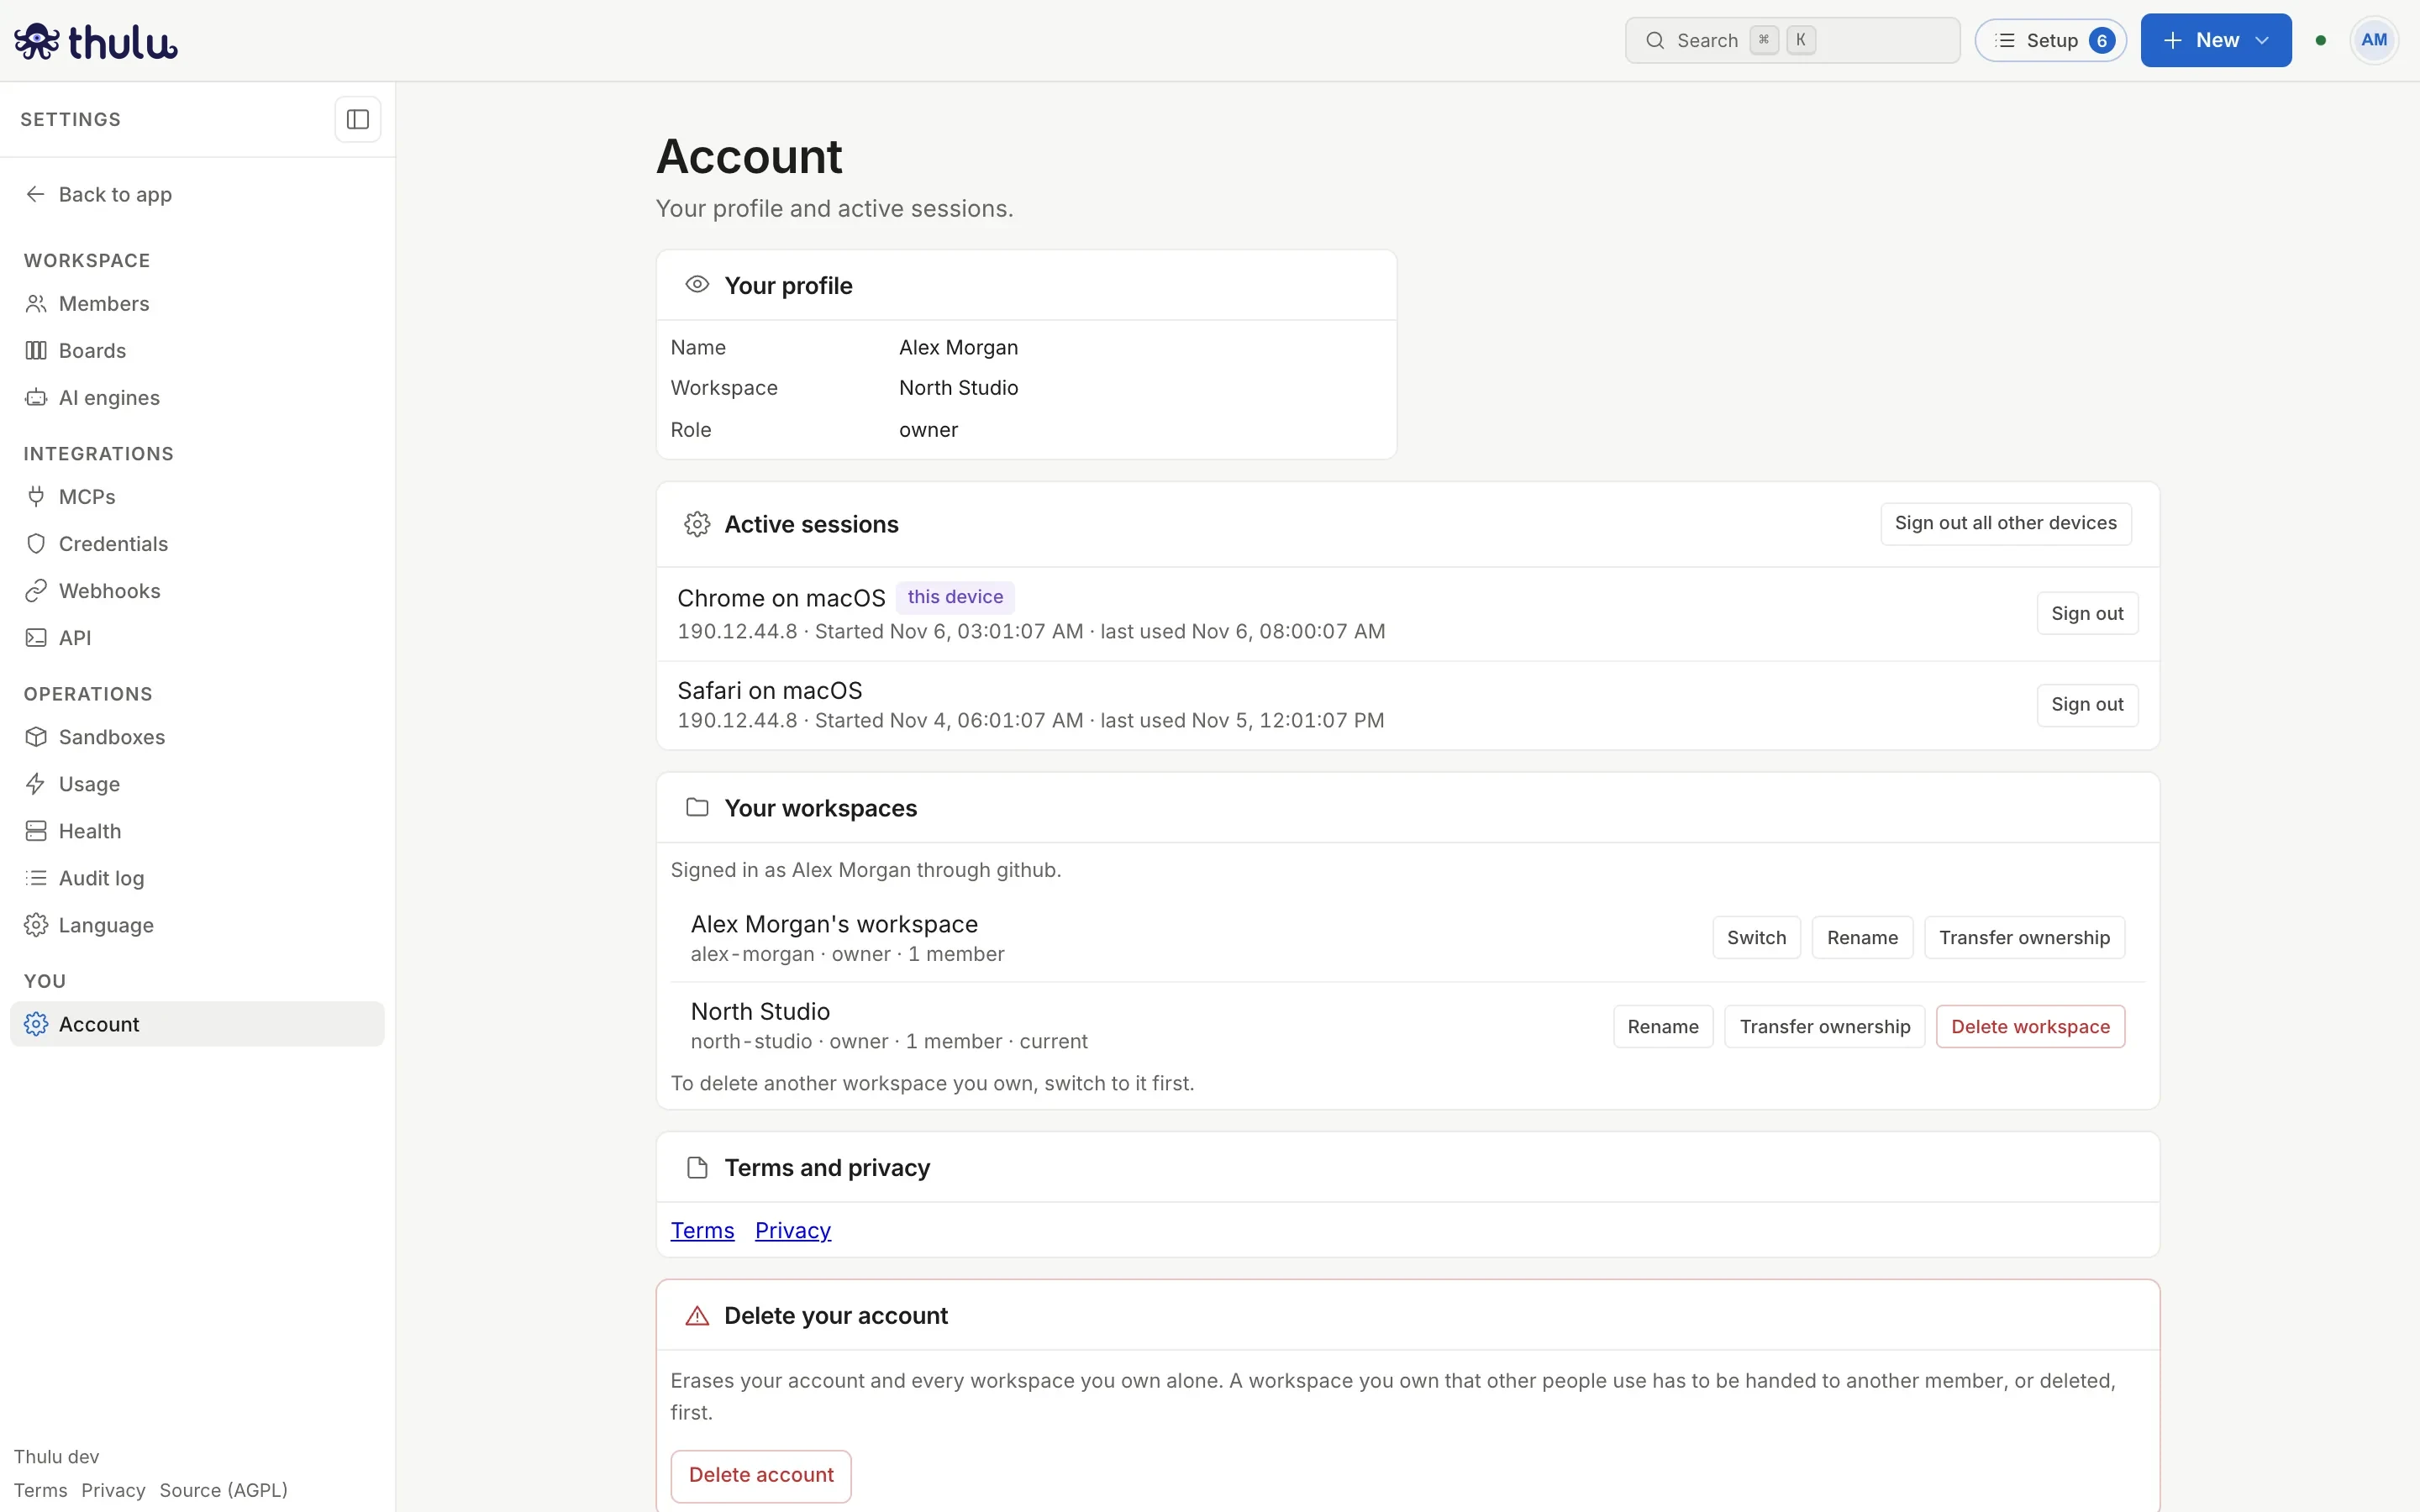
Section titled “Your account”“Settings → Account” (in the “You” section of the Settings sidebar) shows which account and which provider you signed in with, your sessions open on other devices and your workspaces. From there you can rename a workspace (“Rename”: the slug doesn’t change, so links keep working), hand it to another member (“Transfer ownership”), delete the workspace you are in (“Delete workspace”, which asks you to type its slug, the gray text under the name) or delete your account. The workspace’s plan and its limits are in “Usage”.
Common problems
Section titled “Common problems”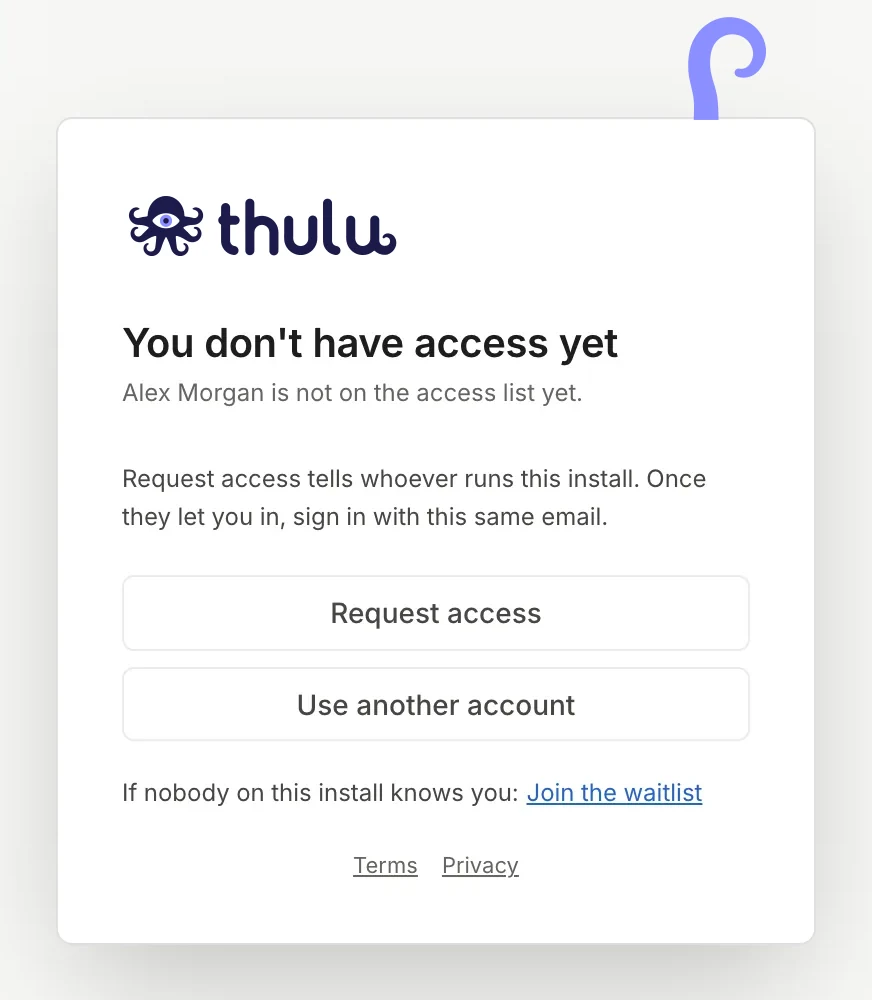
| What you see | What’s happening | How to get out |
|---|---|---|
| “You don’t have access yet” | Your email isn’t on the beta list. Your MisterD ID account exists anyway | Click “Request access”: it notifies whoever operates Thulu. When they give it to you, sign in again with the same email. If you were invited to a workspace, the screen says so and the invitation waits for you. “Use another account” lets you sign in with a different email |
| “Verify your email”, on the MisterD ID page | You created the account but haven’t opened the link in the email yet | Open the link (check spam) or ask for another with “Resend the link”. Then go back to Thulu and click “Continue with MisterD ID” |
| “Verify your email in MisterD ID, then sign in again.” | MisterD ID let you through without verifying the email, and Thulu doesn’t accept unverified emails | Verify the email from the MisterD ID message and go back to “Continue with MisterD ID” |
| “The sign-in took too long. Try again.” | More than 10 minutes passed between “Continue with MisterD ID” and returning to Thulu, for example while you created the account and verified it | Click “Continue with MisterD ID” again. Your MisterD ID account already exists: sign in with it |
| “The sign-in started in another browser or tab, or took too long.” | You started the login in one browser and finished it in another, or in another tab that had already started a new one | Close the other Thulu and MisterD ID tabs and start over from the same browser |
| “an account with this email already exists from a different sign-in method…” | Thulu already has an account with that email tied to another MisterD ID identity | Sign in to MisterD ID with the method you used the first time (email and password, GitHub or Google). If it persists, ask whoever operates the beta for help |
| You entered a workspace that isn’t yours | You were invited before your first sign-in: the invitation replaces the personal workspace | That is expected. If you want one of your own, create it from the workspace menu |